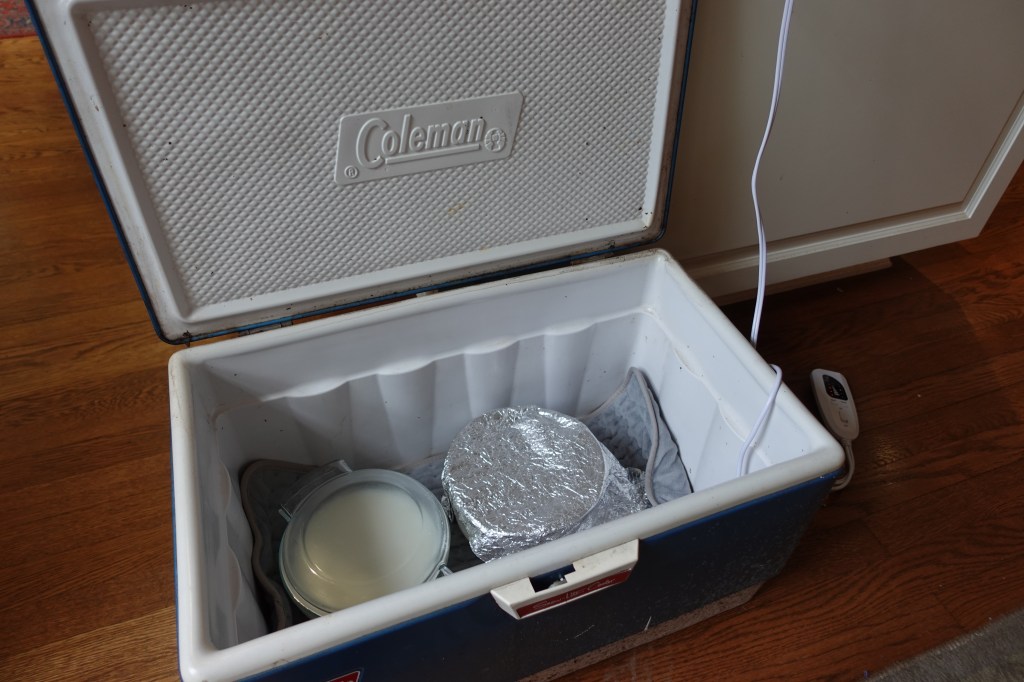
Two Years ago, I visited my sister in San Francisco for winter vacation. While staying with family, I learned that my aunt like to make homemade yogurt and granola. I was surprised to see her process, a cooler chest sitting in the kitchen with a heating pad in to keep the yogurt at the right temperature for fermentation.
When my aunt came over this summer for a visit, I asked if she could teach me how she makes her yogurt and granola recipes. My mom has an instant pot and it does have a yogurt setting but I have never used it before. I thought it would be fun to learn the cooler method as not everyone has an instant pot. With this method, anyone could make yogurt at home. The process is long but the reward afterwards is very delicious.
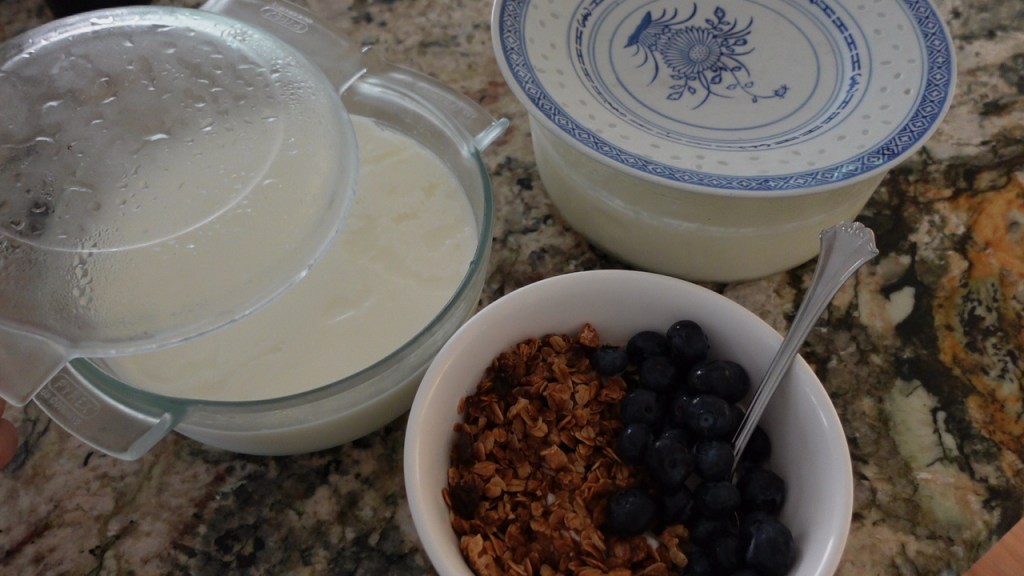
I enjoy having a nice bowl of yogurt, granola and berries for breakfast, though I have found that consuming a bowl of yogurt every morning adds up. I would have frequently have to buy at least two 30oz yogurt container which can be costly every week. By making your own yogurt and granola, one can save on lots of money.
Equipment:
- A medium to big size cooler (this is where the yogurt magic will happen in)
- One to two glass bowls included with lid/ top (depending on how big your cooler is will determine how many bowls of yogurt you can me at a time)
- A heating pad, this is how we will ferment the milk to turn into yogurt (having a heating pad that come with different temperatures is helpful as the yogurt will need to maintain a consistent temperature throughout the 8 hour process, but it is not required)
- A food thermometer to check the temperature of our yogurt
- Dish towels to cover the yogurt bowels as it ferments

At home yogurt recipe
- One 1/2 gallon of milk (you can use any type of milk you like, we used lactaid so our yogurt was lactose free)
- Some already made yogurt (as this will be our starter in our yogurt)
- Heat up the stove, pour the milk into a pot. Heat the milk until it reaches 180F, making sure to constantly stir the milk so that the it doesn’t burn at the bottom.
- Once heated to the right temperature, take the milk off the stove. Place the pot of milk into a cold water bath, we want to milk mixture to cool to 120F as this is the temperature at which the yogurt will begin to cultivate at. Add ice cubes into the water bath to help cool the milk down further.
- Once the milk is down to the correct temperature, 120F, next add in a couple of tablespoons of yogurt as this will be our starter.
- Once the yogurt starter is added in and mixed in, make sure there is some yogurt chunks at the bottom. Pour the milk into a glass safe bowl, divide the mixture into seperate little bowls in case one bowl doesn’t fit it all. If any of the bowls don’t have lids you can use tinfoil to make a makeshift lid.
- Lay the heating pad in the cooler and put your bowl(s) of yogurt on top. Cover the mixtures with a kitchen towel to further help lock in the heat and put the thermometer into the cooler as well.
- Wait 8 hours, making sure to check in every so often to make sure that the yogurt maintains the proper temperature throughout the 8 hours. The cooler should maintain a temperature of 120F in order for the yogurt to develop properly.
- Once done, feel free to transfer the yogurt to the fridge, enjoy at your convenience, you can add in your favorite fresh fruit or check out my Aunt’s homemade granola recipe at the bottom, This granola recipe is also customizable!
Homemade Granola Your Way
This recipe is adjustable so you can add in whatever you like such as raisins, different kinds of nuts etc. You can make the granola as you wait for you yogurt to reach the right temperature, just make sure you don’t forget to stir your yogurt every now and then.
- 3 cups of old fashioned oats
- 1/3 cup coconut oil
- 1/3 cup honey or any sweetener you prefer
- 1 tsp Vanilla
- 1 tsp Cinnamon
- A dash of salt
- 1 cup Walnuts or nuts of your choice
- Raisins
- Preheat your oven to 375F
- In a bowl 1/3 cup coconut oil and 1/3 honey (note: these measurements depends on how sweet you want your granola to be, you can add more or less depending on your preference but keep the 1:1 ratio)
- Add vanilla the spices together in the bowel
- Next add the nuts and oats into the bowl. Mix well.
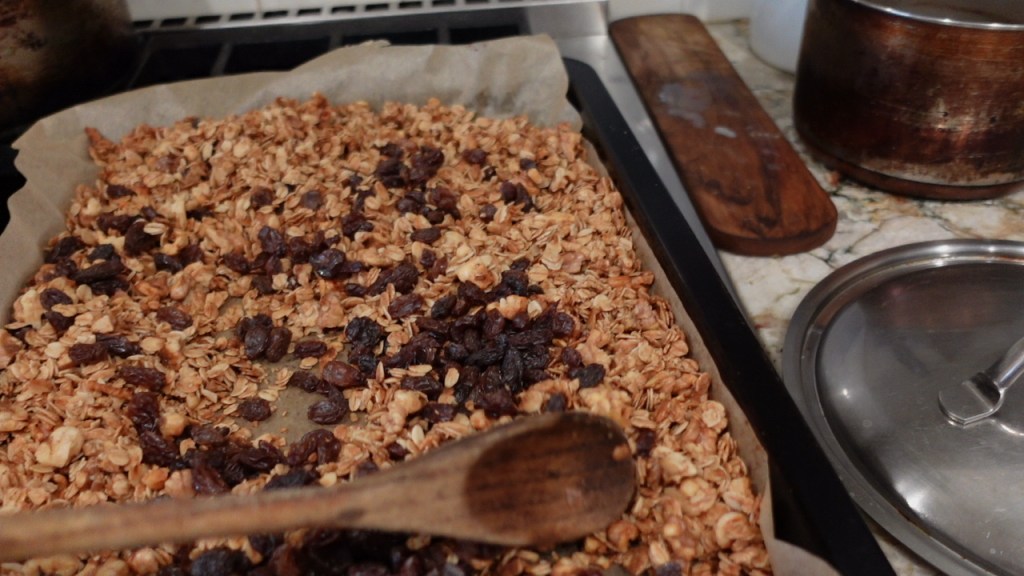
- Grab a cookie sheet tray, line with parchment paper. Afterwards spread your granola mix onto the tray making sure to spread it out evenly.
- The granola will bake for 20 minutes in total. Halfway through, 10 minutes, take out the tray and turn the granola to toast evenly. Put back into oven and let it cook for another 10 minutes.
- Once done, take the granola out and let it cool down, here is where you can add in other ingredients such as raisins if you so desire.
I hope you enjoyed this recipe! It takes a lot of time but the results are amazing! This one recipe can produce a week’s worth of yummy yogurt. I used to buy the 2 lb yogurt container which for me would make about 3 bowls worth of yogurt so I would have to buy yogurt every time I went grocery shopping. To not have to buy every single trip I went to the store, I would buy two 2 lb containers, one container would last me about half a week so two container would last me about 1 week. I would say that this recipe produced enough yogurt to last me more than a week of yogurt eating though this does depend on how much yogurt you consume. But overall making yogurt while a lengthy process I believe it is worth it because not only can you enjoy yogurt this recipe can save you a lot of money instead of buying every single time one goes to the store.
I personally like to enjoy my yogurt with fresh fruit and granola, I love having a crunch cluster when I take a bite. I also enjoy my yogurt with a little drizzle of maple syrup, some people might ask why as maple syrup is mostly used for pancakes or waffles. I have tired honey and it does work, but I prefer using maple syrup as I find it a little bit more sweeter and it blends in nicely to my yogurt with granola and fruit mix.

I would love to learn some of your favorite yogurt mixes and combos! Comment below on some of your favorite pairings with yogurt!

Leave a comment